How do I take a screenshot on my Mac?
Sep 03, 2020 | 11:27 PM | Filed in:
Tech TipsYou have the option to capture your entire screen or just a selected portion of it. The screenshot you create is automatically saved to your desktop, as a .png file in the following format:
Screen Shot date at time.png. Screenshots can be opened with Preview, Safari, and other apps that can edit or view images.
How to take a screenshot of your entire screen- Press Shift-Command (⌘)-3.
How to take a screenshot of a selected portion of your screen- Press Shift-Command-4. The pointer changes to a crosshair.
- Move the crosshair to where you want to start the screenshot, then drag to select an area.
- While dragging, you can hold Shift, Option, or Space bar to change the way the selection moves.
- When you've selected the area you want, release your mouse or trackpad button. To cancel, press the Esc (Escape) key before you release the button.
 How to take a screenshot of a window
- Press Shift-Command-4. The pointer changes to a crosshair.
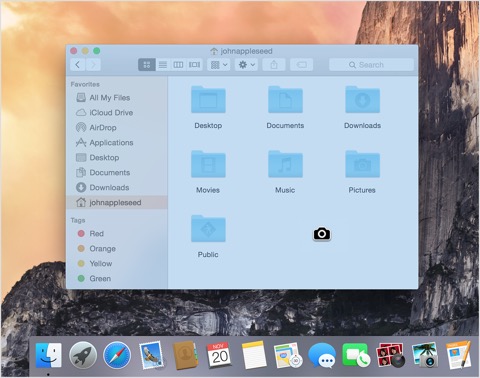
- Press the Space bar. The pointer changes to a camera.
- Move the camera over a window to highlight it.
- Click your mouse or trackpad. To cancel, press the Esc (Escape) key before you click.
- (This works with windows in the Finder and most apps.)
 How to take a screenshot of a menu
- Click the menu to reveal its contents.
- Press Shift-Command-4. The pointer changes to a crosshair.
- Drag to select the menu.
- Release your mouse or trackpad button. To cancel, press the Escape (esc) key before you release the button.
These steps capture the contents of a menu, but not its title:- Click the menu to reveal its contents.
- Press Shift-Command-4. The pointer changes to a crosshair.
- Press the Space bar. The pointer changes to a camera.
- Move the camera over the menu to highlight it.
- Click your mouse or trackpad. To cancel, press the Esc (Escape) key before you click.
To save your screenshot to the Clipboard instead of your desktop - Add Control to the key combinations above. For example, press Control-Shift-Command-3 instead of Shift-Command-3.
Reference: Apple Support Article HT201361
Tags: screenshot, How-to
 0
0